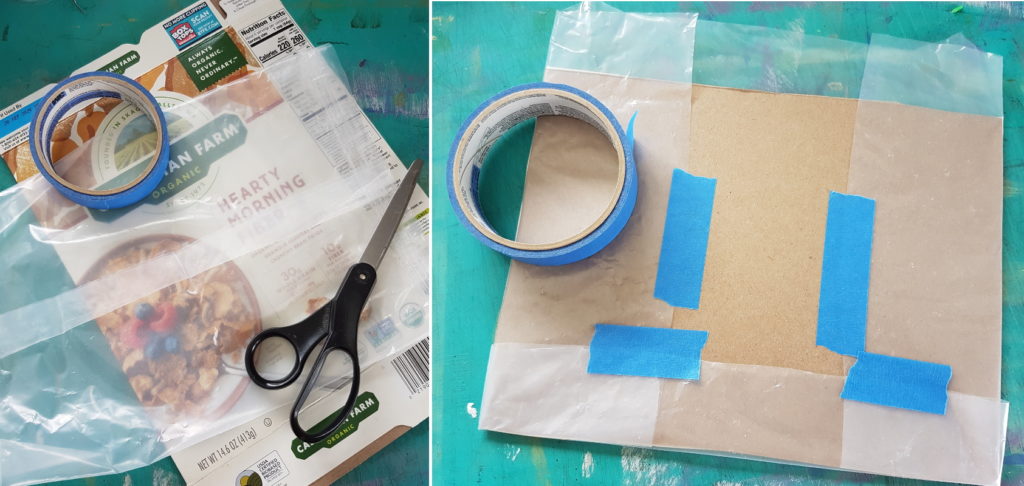
I’ve been looking for low-tech home-made alternatives to gel-printing plates for print-making. I happen to have two Gelli Arts plates, and half a dozen poured silicone ones for teaching, but lots of people could have fun playing with monoprinting but don’t want to spend the money. I tried doing it with aluminum foil, and that was not very satisfactory. But this week when I went to recycle a cereal box, I decided to try that instead. Here’s how it went.
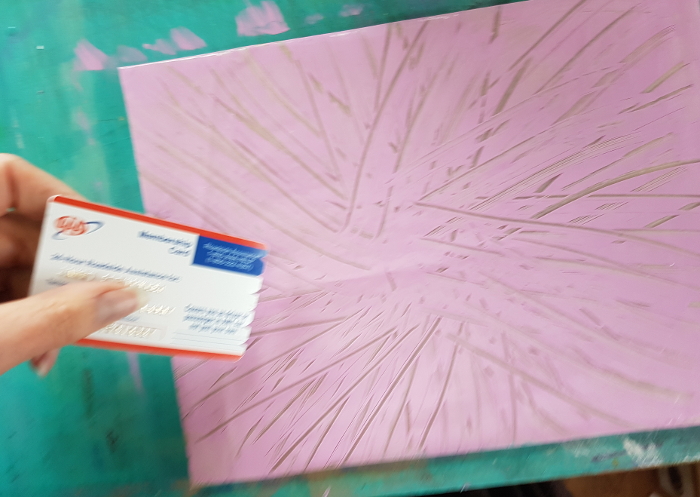
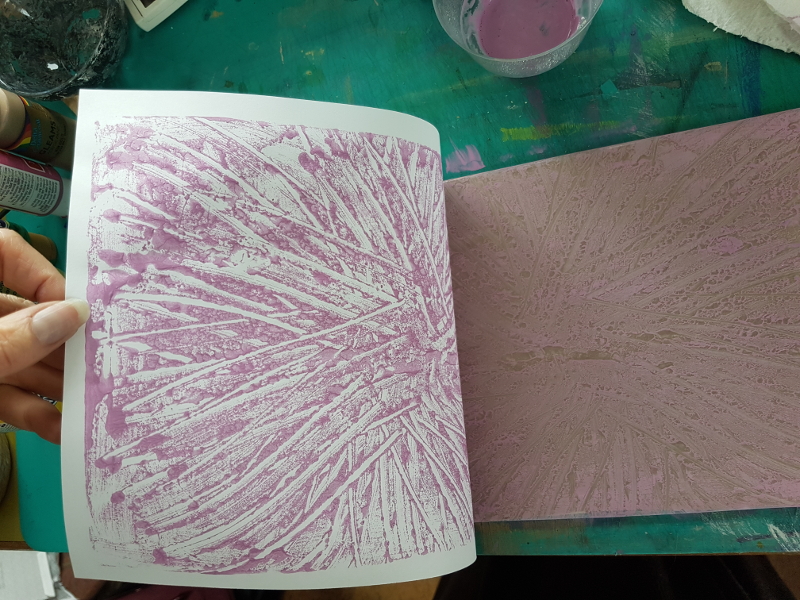
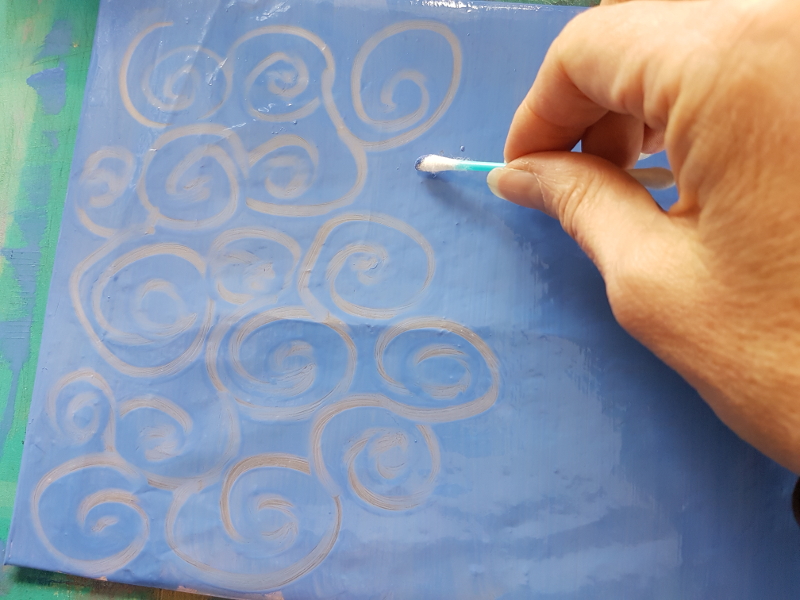
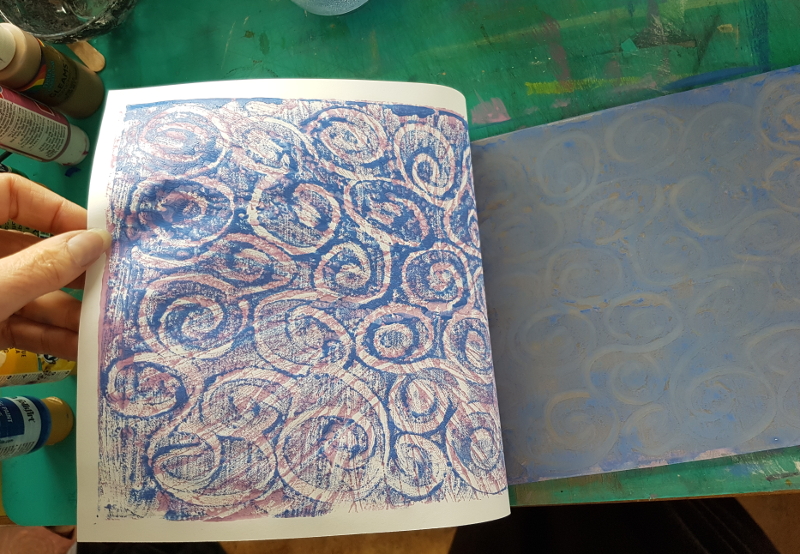
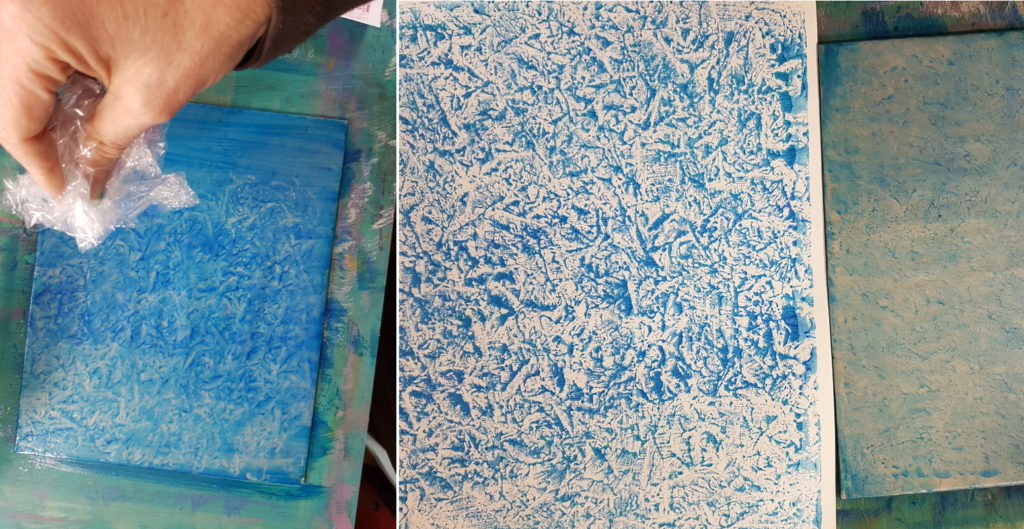
On the left are the materials for making my plate. On the right, I have cut apart the box to make two pieces about 8″x10″, then glued them face to face with a glue stick. I cut all the seams off the liner bag, flattened it out, and taped it around the board.Here I’m spreading a thin layer of craft paint over the whole plastic-covered board. I watered down the paint a little with water; if the paint is too thick (and a lot of mine is quite old,) it dries out before you can make a print. Too much water, though, and it would bead up on the plastic surface.Then I make some sort of marks in the paint; quick, while it’s still wet! This is an old plastic card with notches cut in one end. (sorry picture is blurry; it’s hard to do something and take a picture at the same time!)To pull a print, I put a sheet of paper face down on the plate, and rub over the whole thing with the palm of my hand, then lift the paper off.Now, spread another layer of paint on your plate, and do it again! Here, I’m making pattern with a Q-tip. The little bit of the previous color of paint has dried on the plate by the time I get the next color out. Some of it might come up with this print, but that just makes it more interesting! I could print this design on its own sheet of paper, or make it an additional layer over a previous print.This is my blue swirls printed over the previous pink radiating lines. I could leave it like this, or make more layers. I’m personally not fond of white spaces in my papers, so I could also wait till this is completely dry and then paint over it with watercolor in some shade that coordinates. The watercolor will mostly not stick to the acrylic, but will tint all that white background.Here’s another favorite technique; spread a layer of paint, then grab a piece of plastic (thin plastic bags or wrappers from things are perfect for this. This was the wrapping around a frame.) Crumple it up and tap it down onto the paint over and over, turning your hand between taps if you don’t want a repeating pattern of the same marks, then make a print.
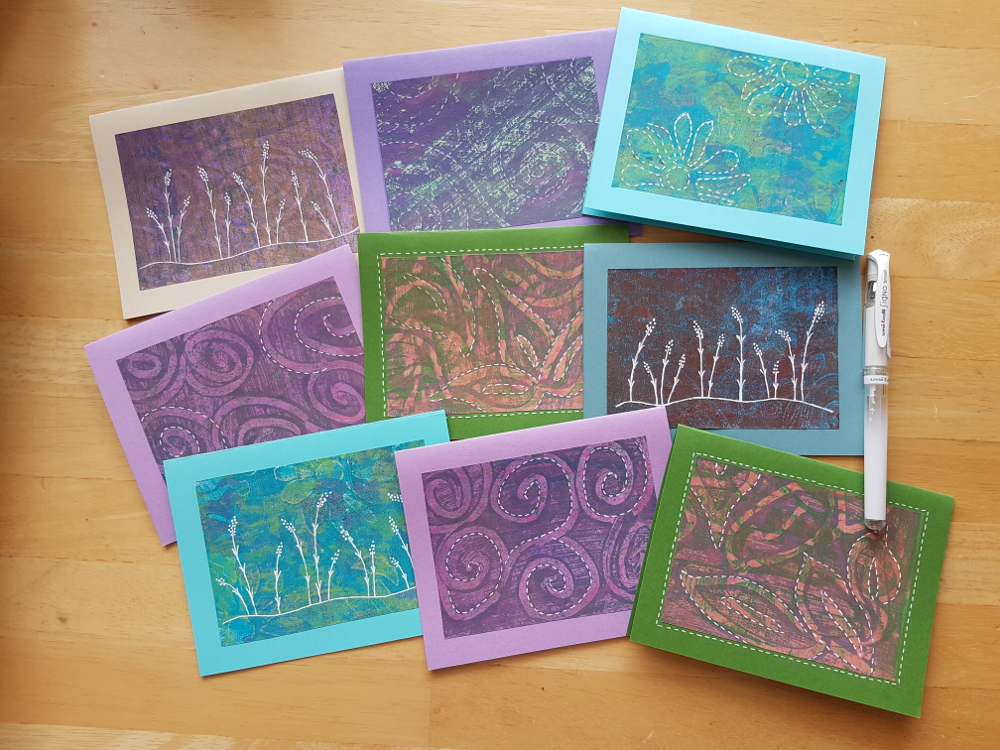
So, what to do with all these printed papers? Here’s one of many things I do with them:
I’ve been writing lots and lots of snail mail notes to people, especially friends and folks I know who might be feeling especially down or isolated, since at the moment we’re all “sheltering in place” because of the CV19 pandemic. So I just cut up bits of my prints, sometimes draw something extra on them with a pen, and glue them to half a sheet of cardstock folded over to make a card. As you can see, I’ve been having fun drawing “stitching” lines.