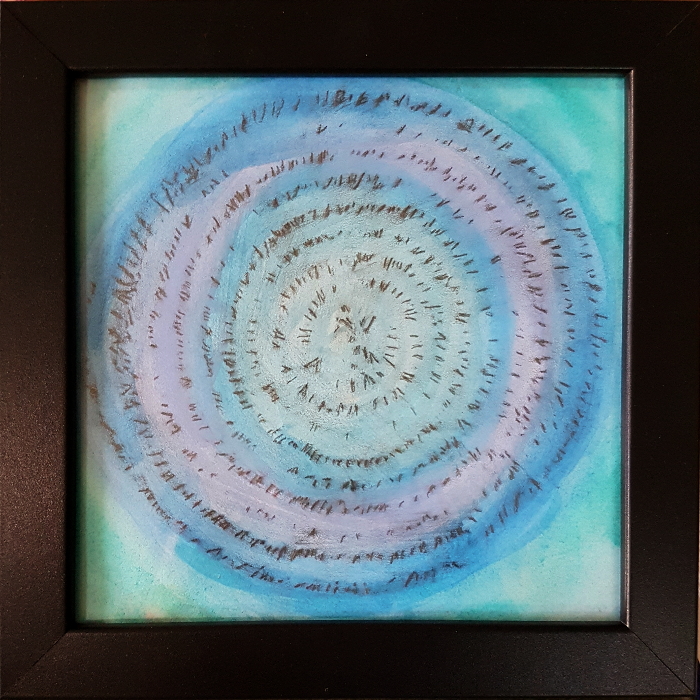
Inspired by the amazing Terry Maker, who has an installation at the Longmont Museum right now, I’ve been exploring making rubbings the last few weeks. Now, before you start thinking “That’s just for kindergartners,” it is actually an honest-to-goodness art technique, going by the name frottage, and used most famously by surrealist painter Max Ernst.
If you’d like to try it along with me, here’s a tutorial!
MATERIALS:
paper. Preferably blank and lightweight, but be creative; use the “this page intentionally left blank” page from something, or a brown paper lunch sack!
pencil or crayons. Softer pencil lead (B or 2B) gives a darker impression than HB, but they all work. Kids’ crayons can be fun. Colored pencils work nicely. Any of the above should be sharp, so you have a large flat surface along the side of the point. (mechanical pencil won’t work.)
textures to rub over. This can be anything with a hard textured surface. (Fabric doesn’t work well unless you can stretch it taught over a hard surface.) Once you start looking for textures, you will start seeing them in unexpected places! Experiment! Use scratch paper to test things for suitability. Or make your own texture plates; see below.
Optional:
watercolor paints. These don’t need to be artists’ grade (although they could be.) The kids’ pan sets that you can buy anywhere for a couple bucks will work.
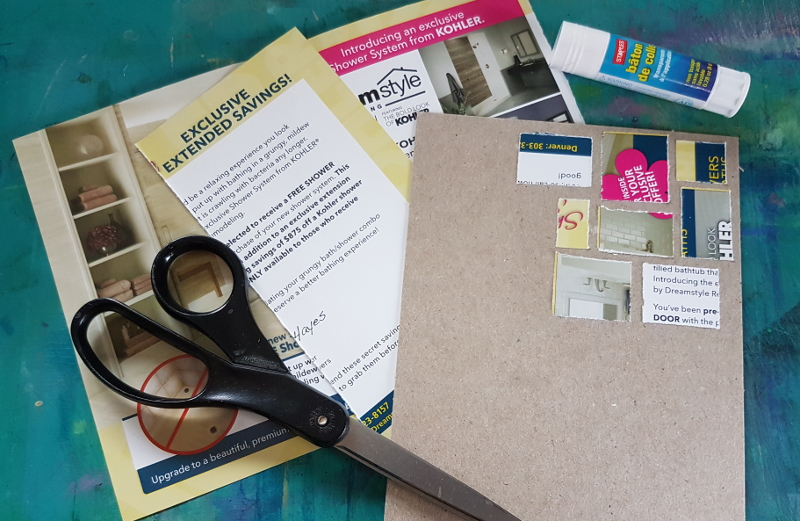
lightweight card-stock and a glue stick, if you want to make your own rubbing plates. Junk mail postcards are perfect for this, and the cardboard from a cereal or cracker box for the backing.
PROCESS:
There are two styles of rubbings; over “found” texture, or over “created” texture.
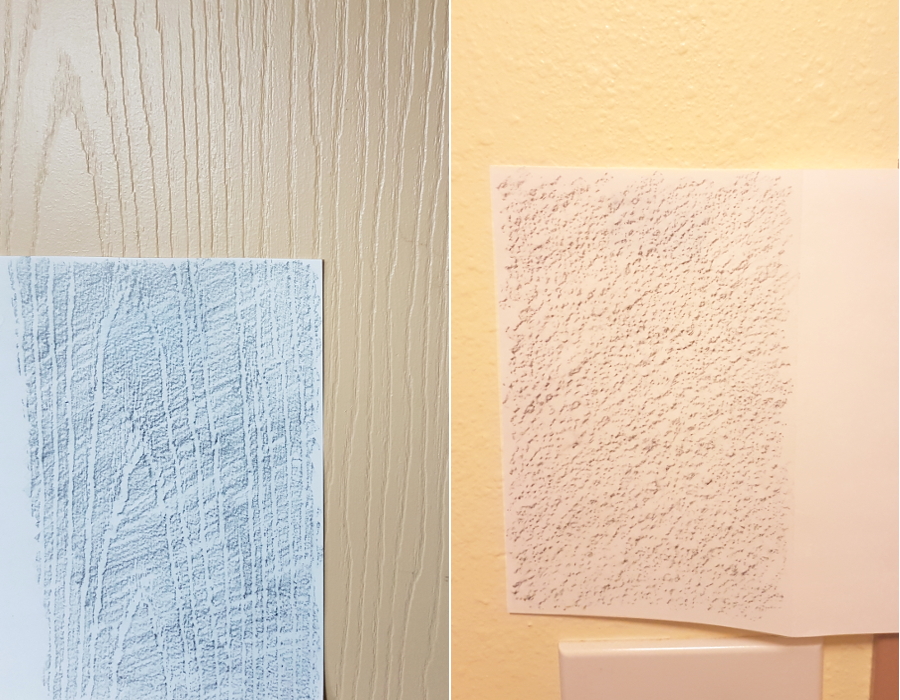
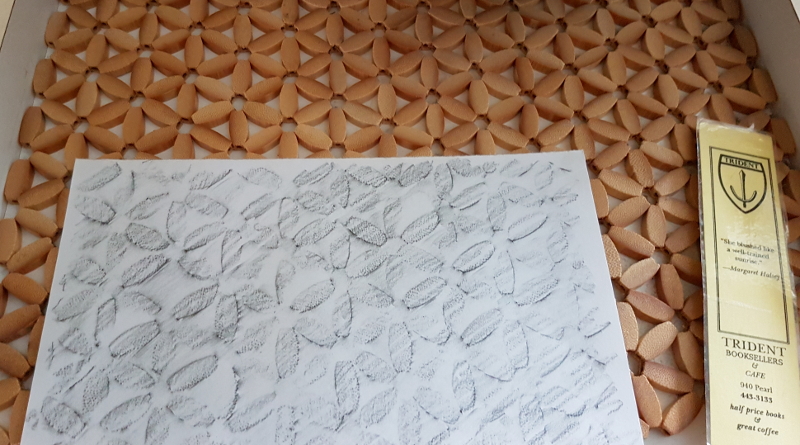
Let’s start with found texture; things around the house to make rubbings of. Find something you want to make a rubbing of, tape or hold your paper over it, and start rubbing with the flat side of the tip of your pencil or crayon. The angle at which you hold the mark-making tool will change the character of the marks!

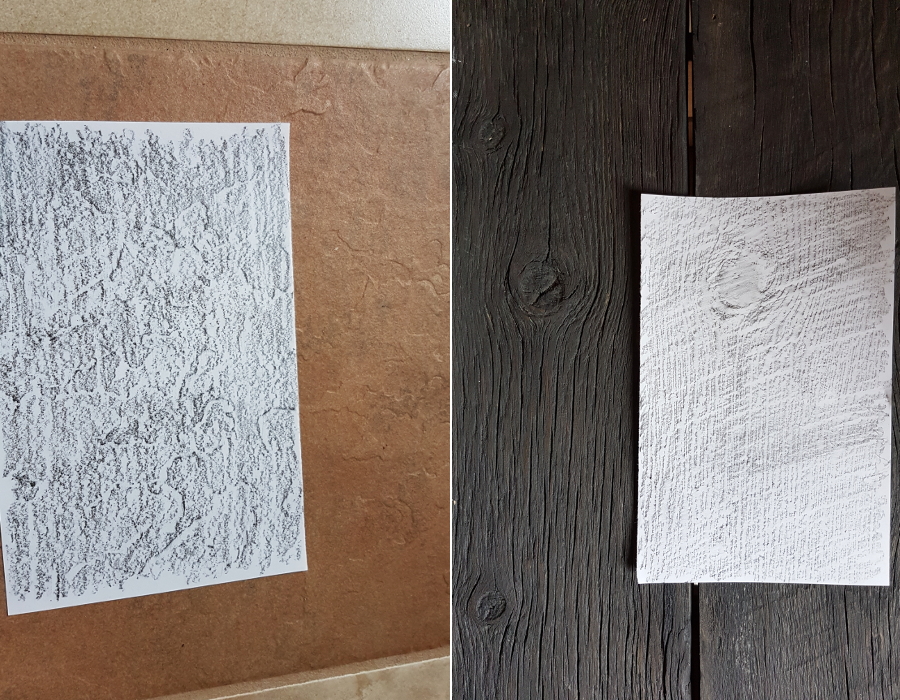
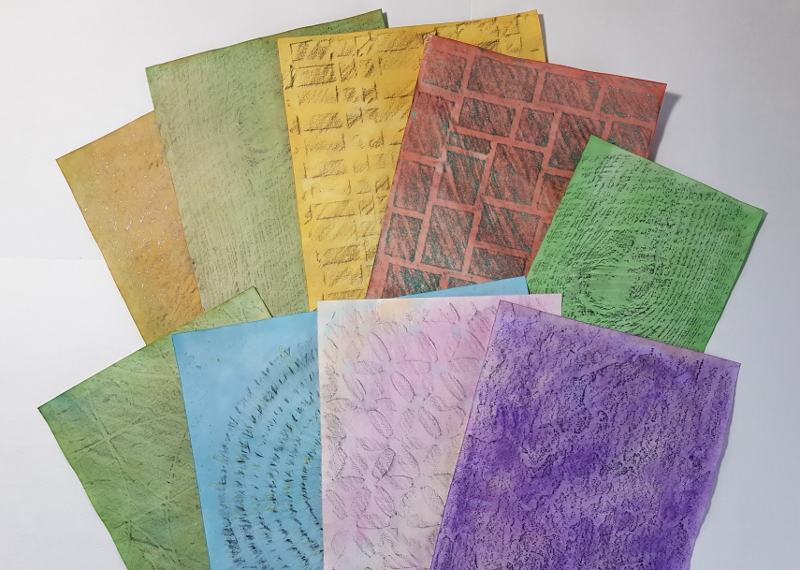
Here are some things I found to take rubbings of:
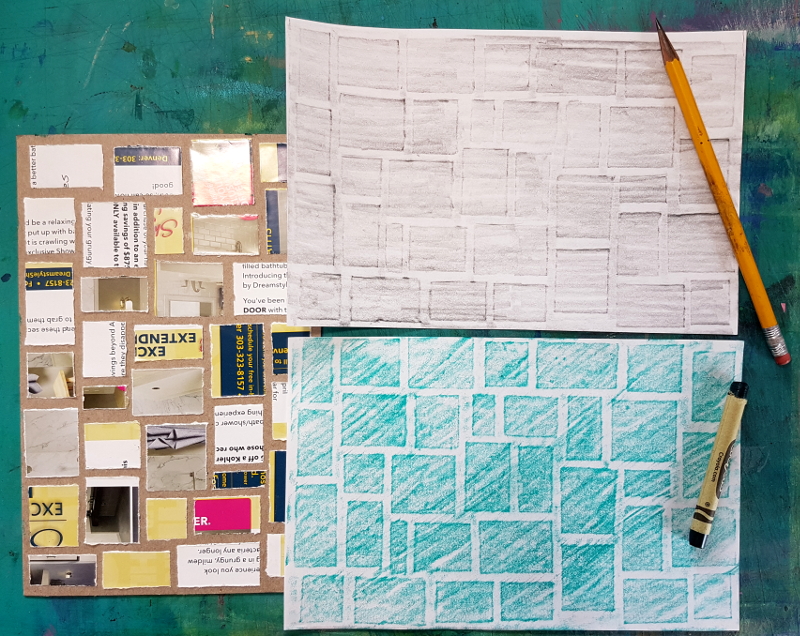
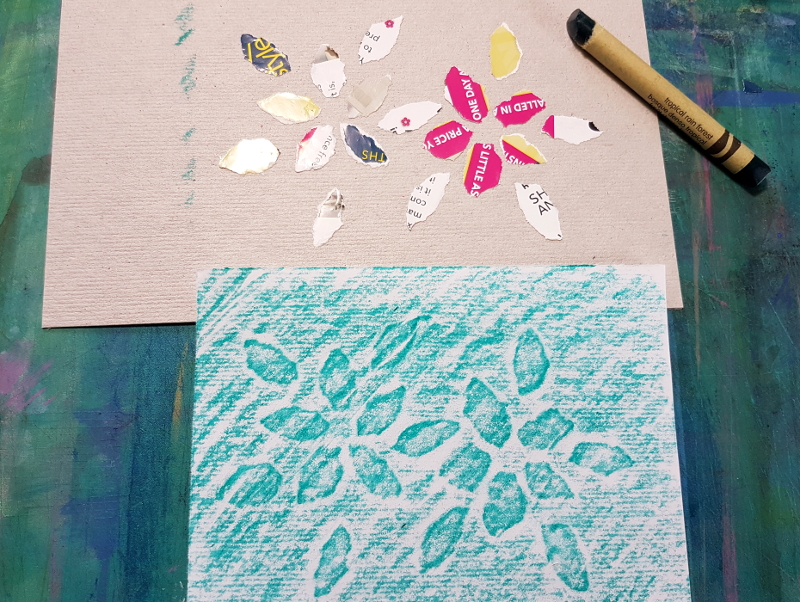
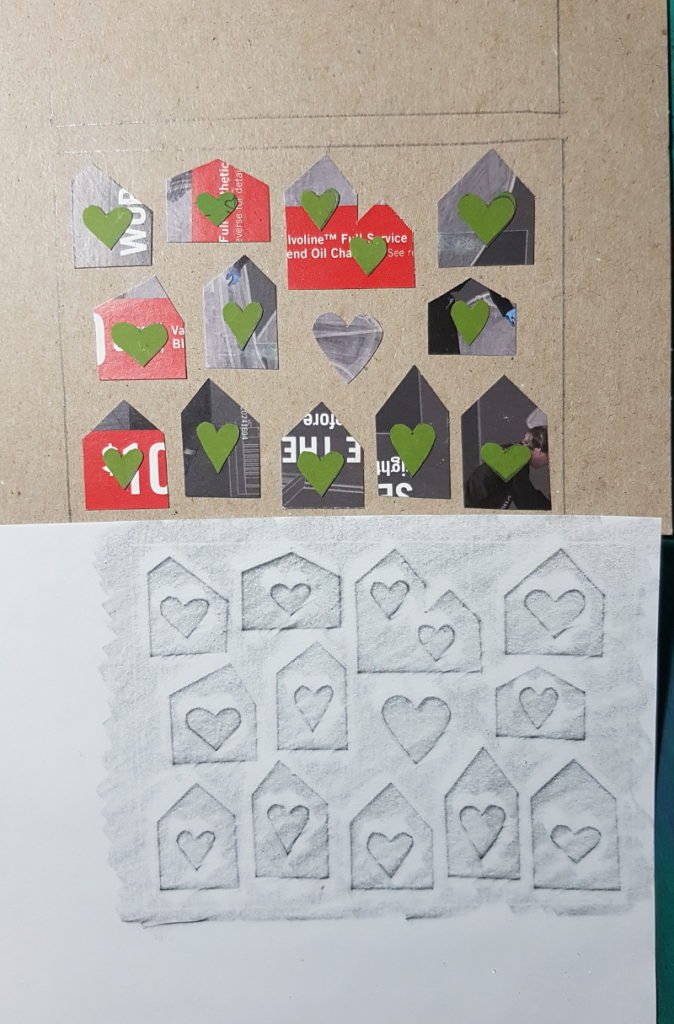
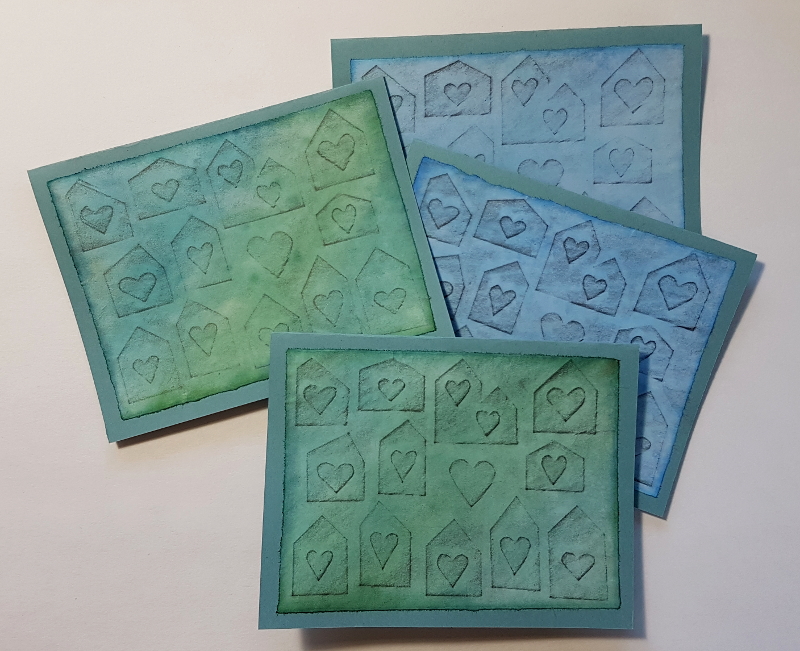
Now, let’s look at how to make your OWN textures to use for rubbings! It doesn’t take a very big difference in the height of the surface to show up on a rubbing. My favorite way to do this is to cut or tear up a postcard from the junk mail, and glue the pieces down to a backing like the cardboard from a cereal box.
Thanks for reading! I hope you will try this at home, because it’s lots of fun!